Contents
Nowadays, a lot of web applications are now using the Single Page Application(SPA) approach. One of the reasons they use this approach is for its speed. Today I will be showing you how to develop a react Single Page Application(SPA) in Symfony 6.
A Single Page Application (SPA) is a web application or website that utilized only a single page and dynamically changes its content. The page does not reload unlike Multiple Page Application (MPA) which reloads pages to display new information.
What is Symfony? Symfony is a PHP framework used to develop web applications, APIs, microservices, and web services. Symfony is one of the leading PHP frameworks for creating websites and web applications.
React or also called React.js or Reactjs is a free and open-source JavaScript library used for building user interfaces(UI). It is one of the most popular JavaScript libraries for building the front-end. React is created by Facebook and maintained by Facebook.
Prerequisite:
- Composer
- Symfony CLI
- PHP >= 8.0.2
- React v18.0
Step 1: Install Symfony 6
First, select a folder that you want Symfony to be installed then execute this command on Terminal or CMD to install:
Install via composer:
composer create-project symfony/website-skeleton symfony-6-react-spa
Install via Symfony CLI:
symfony new symfony-6-react-spa --full
Step 2: Set Database Configuration
We must configure our database to avoid errors. Open the .env file and set database configuration. We will be using MySQL in this tutorial. Uncomment the DATABASE_URL variable for MySQL and updates its configs. Make sure you commented out the other DATABASE_URL variables.
.env
# In all environments, the following files are loaded if they exist,
# the latter taking precedence over the former:
#
#  * .env                contains default values for the environment variables needed by the app
#  * .env.local          uncommitted file with local overrides
#  * .env.$APP_ENV       committed environment-specific defaults
#  * .env.$APP_ENV.local uncommitted environment-specific overrides
#
# Real environment variables win over .env files.
#
# DO NOT DEFINE PRODUCTION SECRETS IN THIS FILE NOR IN ANY OTHER COMMITTED FILES.
#
# Run "composer dump-env prod" to compile .env files for production use (requires symfony/flex >=1.2).
# https://symfony.com/doc/current/best_practices.html#use-environment-variables-for-infrastructure-configuration

###> symfony/framework-bundle ###
APP_ENV=dev
APP_SECRET=e0710317861221371d185cc932acd15b
###< symfony/framework-bundle ###

###> doctrine/doctrine-bundle ###
# Format described at https://www.doctrine-project.org/projects/doctrine-dbal/en/latest/reference/configuration.html#connecting-using-a-url
# IMPORTANT: You MUST configure your server version, either here or in config/packages/doctrine.yaml
#
# DATABASE_URL="sqlite:///%kernel.project_dir%/var/data.db"
# DATABASE_URL="mysql://db_user:db_password@127.0.0.1:3306/db_name?serverVersion=5.7"
DATABASE_URL="postgresql://db_user:db_password@127.0.0.1:5432/db_name?serverVersion=13&charset=utf8"
###< doctrine/doctrine-bundle ###
Step 3: Create SPA Controller
We will then create a controller that will load the react app. To create a controller execute the code below:
php bin/console make:controller SpaController
After creating the controller, update the index method:
/src/Controller/SpaController.php
<?php

namespace App\Controller;

use Symfony\Bundle\FrameworkBundle\Controller\AbstractController;
use Symfony\Component\HttpFoundation\Response;
use Symfony\Component\Routing\Annotation\Route;

class SpaController extends AbstractController
{
    /**

     * @Route("/{reactRouting}", name="app_home", requirements={"reactRouting"="^(?!api).+"}, defaults={"reactRouting": null})
     */
    public function index()
    {
        return $this->render('spa/index.html.twig');
    }
}
Step 4: Update View Files
Let’s update now the view files. First, update the /templates/base.html.twig file. Copy the code below:
/templates/base.html.twig
<!DOCTYPE html>
<html>
<head>
    <meta charset="UTF-8">
    <title>{% block title %}Symfony React SPA!{% endblock %}</title>
    {% block stylesheets %}
        {{ encore_entry_link_tags('app') }}
    {% endblock %}
     <link href="https://cdn.jsdelivr.net/npm/bootstrap@5.0.2/dist/css/bootstrap.min.css" rel="stylesheet" integrity="sha384-EVSTQN3/azprG1Anm3QDgpJLIm9Nao0Yz1ztcQTwFspd3yD65VohhpuuCOmLASjC" crossorigin="anonymous">
    <script src="https://cdn.jsdelivr.net/npm/bootstrap@5.0.2/dist/js/bootstrap.bundle.min.js" integrity="sha384-MrcW6ZMFYlzcLA8Nl+NtUVF0sA7MsXsP1UyJoMp4YLEuNSfAP+JcXn/tWtIaxVXM" crossorigin="anonymous"></script>
</head>
<body>
{% block body %}{% endblock %}
{% block javascripts %}
    {{ encore_entry_script_tags('app') }}
{% endblock %}
</body>
</html>
Then, lets update the view file that was also created when we create the spa controller:
/templates/spa/index.html.twig
{% extends 'base.html.twig' %}

 {% block body %}

     <div id="app"></div>

 {% endblock %}
Now that we have setup the back-end lets proceed on the front-end.
Step 5: Install Encore and React Dependencies
We will now install the Symfony Webpack Encore Bundle. Run these commands to install the PHP and JavaScript Dependencies:
composer require symfony/webpack-encore-bundle
yarn install
Then install the decencies for our react:
yarn add @babel/preset-react --dev
yarn add react-router-dom
yarn add --dev react react-dom prop-types axios
yarn add @babel/plugin-proposal-class-properties @babel/plugin-transform-runtime
And now we update the config of webpack.config.js. Add .enableReactPreset():
webpack.config.js
const Encore = require('@symfony/webpack-encore');

// Manually configure the runtime environment if not already configured yet by the "encore" command.
// It's useful when you use tools that rely on webpack.config.js file.
if (!Encore.isRuntimeEnvironmentConfigured()) {
    Encore.configureRuntimeEnvironment(process.env.NODE_ENV || 'dev');
}

Encore
    // directory where compiled assets will be stored
    .setOutputPath('public/build/')
    // public path used by the web server to access the output path
    .setPublicPath('/build')
    .enableReactPreset()
    // only needed for CDN's or sub-directory deploy
    //.setManifestKeyPrefix('build/')

    /*
     * ENTRY CONFIG
     *
     * Each entry will result in one JavaScript file (e.g. app.js)
     * and one CSS file (e.g. app.css) if your JavaScript imports CSS.
     */
    .addEntry('app', './assets/app.js')

    // enables the Symfony UX Stimulus bridge (used in assets/bootstrap.js)
    .enableStimulusBridge('./assets/controllers.json')

    // When enabled, Webpack "splits" your files into smaller pieces for greater optimization.
    .splitEntryChunks()

    // will require an extra script tag for runtime.js
    // but, you probably want this, unless you're building a single-page app
    .enableSingleRuntimeChunk()

    /*
     * FEATURE CONFIG
     *
     * Enable & configure other features below. For a full
     * list of features, see:
     * https://symfony.com/doc/current/frontend.html#adding-more-features
     */
    .cleanupOutputBeforeBuild()
    .enableBuildNotifications()
    .enableSourceMaps(!Encore.isProduction())
    // enables hashed filenames (e.g. app.abc123.css)
    .enableVersioning(Encore.isProduction())

    .configureBabel((config) => {
        config.plugins.push('@babel/plugin-proposal-class-properties');
    })

    // enables @babel/preset-env polyfills
    .configureBabelPresetEnv((config) => {
        config.useBuiltIns = 'usage';
        config.corejs = 3;
    })

    // enables Sass/SCSS support
    //.enableSassLoader()

    // uncomment if you use TypeScript
    //.enableTypeScriptLoader()

    // uncomment if you use React
    //.enableReactPreset()

    // uncomment to get integrity="..." attributes on your script & link tags
    // requires WebpackEncoreBundle 1.4 or higher
    //.enableIntegrityHashes(Encore.isProduction())

    // uncomment if you're having problems with a jQuery plugin
    //.autoProvidejQuery()
;

module.exports = Encore.getWebpackConfig();
Step 6: Create The React Files
We will now start creating our react files. But before let’s run this command first to compile the react files and watch JavaScript file changes:
yarn encore dev --watch
We will create these files inside /assets directory. These will be what the file structure looks:

You can have your own way of managing or structuring you files.
Let’s create the Main.js file – This file we be the one that handles the routing:
resources/js/Main.js
import React from 'react';
import { StrictMode } from "react";
import { createRoot } from "react-dom/client";
import { BrowserRouter as Router, Routes, Route } from "react-router-dom";
import Home from "./pages/Home"
import Blog from "./pages/Blog"
import About from "./pages/About"
import Contact from "./pages/Contact"
import NotFound from "./pages/NotFound"

function Main() {
    return (
        <Router>
            <Routes>
                <Route exact path="/"  element={<Home/>} />
                <Route path="/blog"  element={<Blog/>} />
                <Route path="/about"  element={<About/>} />
                <Route path="/contact"  element={<Contact/>} />
                <Route element={<NotFound/>} />
            </Routes>
        </Router>
    );
}

export default Main;

if (document.getElementById('app')) {
    const rootElement = document.getElementById("app");
    const root = createRoot(rootElement);

    root.render(
        <StrictMode>
            <Main />
        </StrictMode>
    );
}
After creating the Main.js file, let’s update the app.js file:
/assets/app.js
/*
 * Welcome to your app's main JavaScript file!
 *
 * We recommend including the built version of this JavaScript file
 * (and its CSS file) in your base layout (base.html.twig).
 */

// any CSS you import will output into a single css file (app.css in this case)
import './styles/app.css';

// start the Stimulus application
import './bootstrap';
require('./Main');
Create a folder named components then inside the /assets/components folder, let’s create a files named Layout.js and Header.js – this will serve as a template.
/assets/components/Layout.js
import React from 'react';

const Layout =({children}) =>{
    return(
        <div className="container">
            {children}
        </div>
    )
}

export default Layout;
/assets/components/Header.js
import React, {useEffect} from 'react';
import { Link, useLocation } from "react-router-dom";

function Header() {
    const location = useLocation();
    const pageLinks = [
        {
            "name": "Home",
            "url" :"/",
        },
        {
            "name": "Blog",
            "url" :"/blog",
        },
        {
            "name": "About",
            "url" :"/about",
        },
        {
            "name": "Contact",
            "url" :"/contact",
        },

    ];

    useEffect(() => {
        pageLinks.map((page)=>{
            if(page.url == location.pathname) {
                document.title = page.name;
            }
        });
    }, [])

    return (
        <nav className="navbar navbar-expand-lg navbar-light bg-light">
            <Link to="/" className="navbar-brand">Binaryboxtuts</Link>
            <button className="navbar-toggler" type="button" data-toggle="collapse" data-target="#navbarSupportedContent" aria-controls="navbarSupportedContent" aria-expanded="false" aria-label="Toggle navigation">
                <span className="navbar-toggler-icon"></span>
            </button>

            <div className="collapse navbar-collapse" id="navbarSupportedContent">
                <ul className="navbar-nav mr-auto">
                    {
                        pageLinks.map((page, key) => {
                            return (
                                <li key={key} className={`nav-item ${location.pathname == page.url ? 'active' : ''}`}>
                                    <Link to={page.url} className="nav-link">{page.name}</Link>
                                </li>
                            )
                        })
                    }
                </ul>
            </div>
        </nav>
    );
}

export default Header;
We will now create a folder in /assets named pages. Inside the folder let’s create these files for our pages:
- Home.js
- Blog.js
- About.js
- Contact.js
- NotFound.js
/assets/pages/Home.js
import React from 'react'
import Layout from "../components/Layout"
import Header from '../components/Header'

function Home() {

    return (
        <Layout>
            <Header/>
            <div className="container">
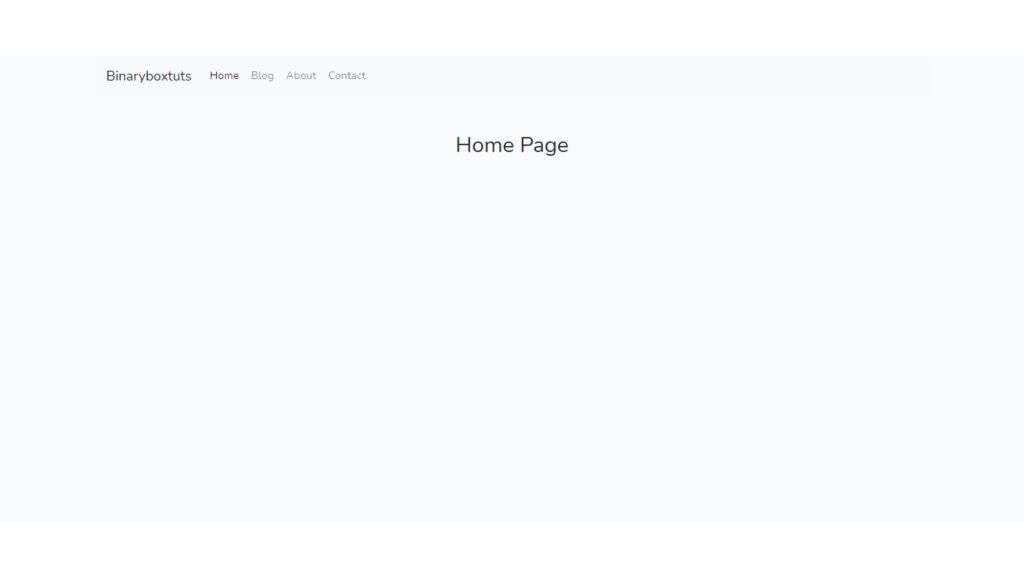
                <h2 className="text-center mt-5 mb-3">Home Page</h2>
            </div>
        </Layout>
    );
}

export default Home;
/assets/pages/Blog.js
import React from 'react'
import Layout from "../components/Layout"
import Header from '../components/Header'

function Blog() {

    return (
        <Layout>
            <Header/>
            <div className="container">
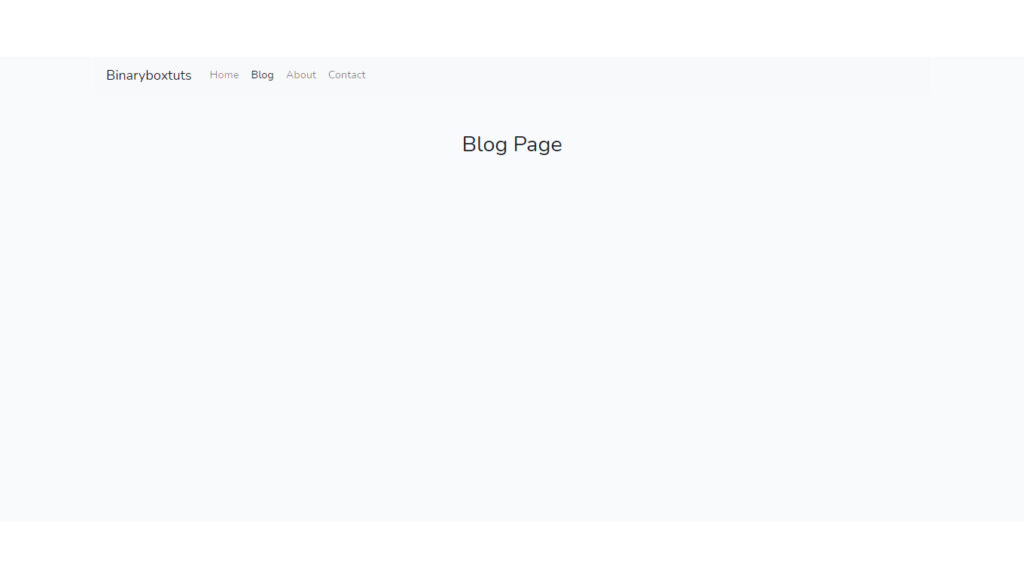
                <h2 className="text-center mt-5 mb-3">Blog Page</h2>
            </div>
        </Layout>
    );
}

export default Blog;
/assets/pages/About.js
import React from 'react'
import Layout from "../components/Layout"
import Header from '../components/Header'

function About() {

    return (
        <Layout>
            <Header/>
            <div className="container">
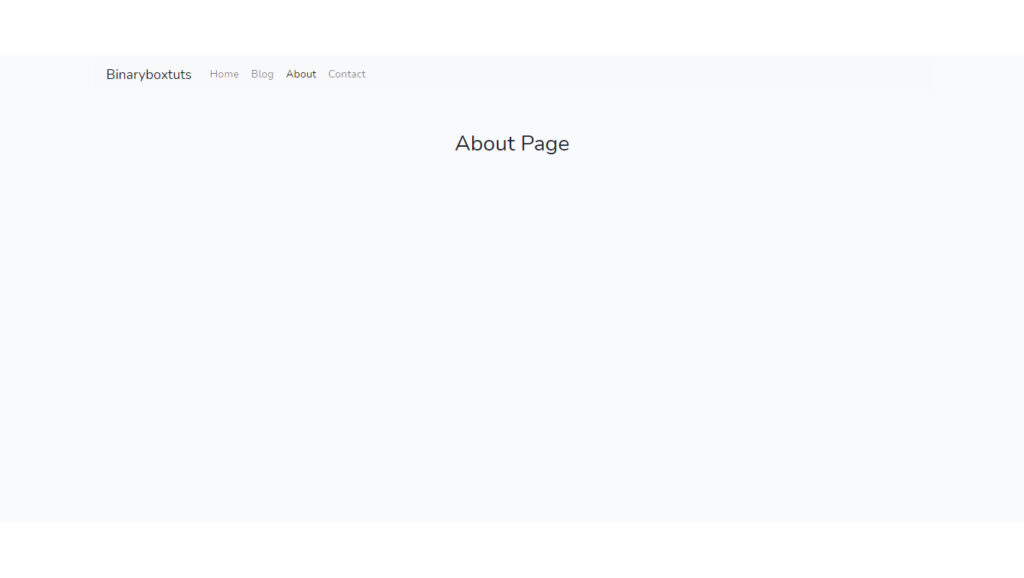
                <h2 className="text-center mt-5 mb-3">About Page</h2>
            </div>
        </Layout>
    );
}

export default About;
/assets/pages/Contact.js
import React from 'react'
import Layout from "../components/Layout"
import Header from '../components/Header'

function Contact() {

    return (
        <Layout>
            <Header/>
            <div className="container">
                <h2 className="text-center mt-5 mb-3">Contact Page</h2>
            </div>
        </Layout>
    );
}

export default Contact;
/assets/pages/NotFound.js
import React from 'react'
import Layout from "../components/Layout"
import Header from '../components/Header'

function NotFound() {

    return (
        <Layout>
            <Header/>
            <div className="container">
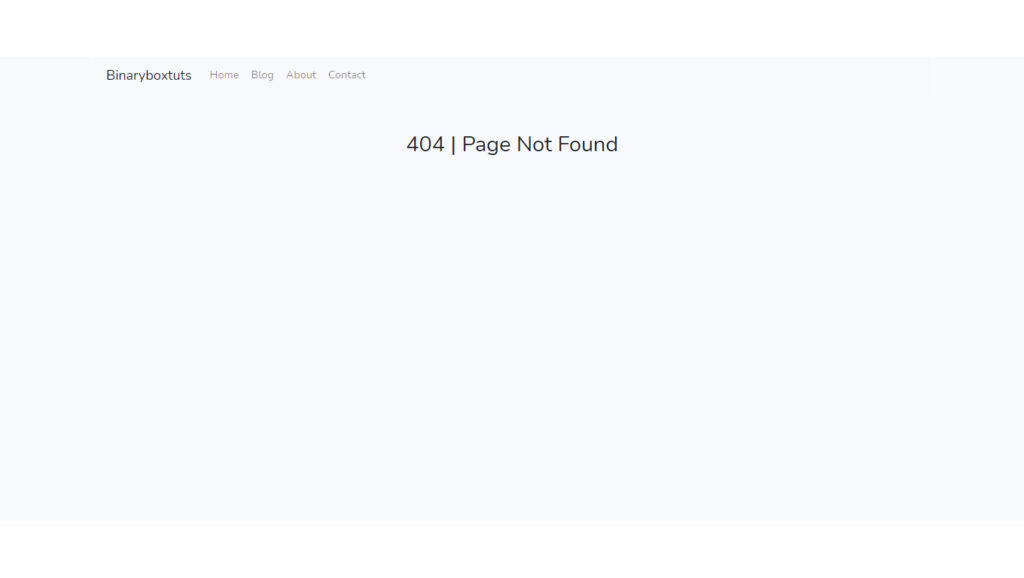
                <h2 className="text-center mt-5 mb-3">404 | Page Not Found</h2>
            </div>
        </Layout>
    );
}

export default NotFound;
Step 7: Run The Application
After finishing the steps above, you can now run your application by executing the command below:
symfony server:start
Open this URL:
http://localhost:8000/
Screenshots:
Home Page
Blog Page
About Page
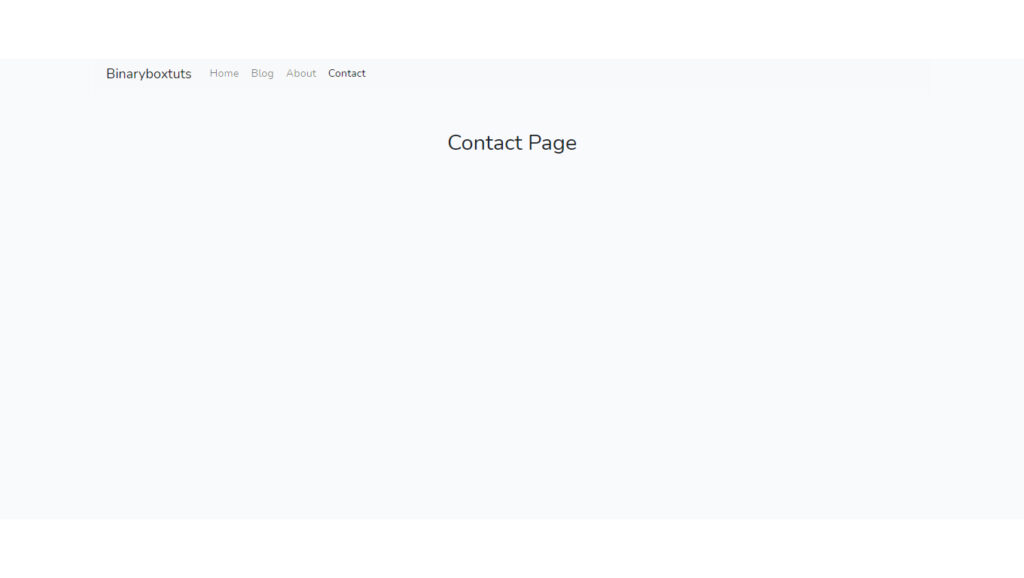
Contact Page
404 Page
