Contents
Today, I will be showing you how to integrate Stripe payment gateway in CodeIgniter 4. Payment gateway is one of the most important part of a e-commerce site or any apps that requires payment processing. One of the most popular payment processing platform is stripe. Stripe has been one of the most chosen payment platform for its simple integration and fast account setup.
I will be showing how to create a Charge in Stripe API using a token. We will now start the integration of Stripe to CodeIgniter 4.
Step 1: Install CodeIgniter 4
For us to install CodeIgniter 4 we can install via composer or directly download CodeIgniter 4 here:
Install via composer:
composer create-project codeigniter4/appstarter ci-4-stripe-payment
Step 2: Change CodeIgniter Environment
The default environment of CodeIgniter is production, it is a safety feature to add security in case settings are messed up when it goes live. For us to change the environment we will rename or copy the file env to .env. Once it is renamed, open the file and uncomment and change the CI_ENVIRONMENT value from production to development. And we will also
.env
CI_ENVIRONMENT = development
Step 3: Install Stripe Package
We will now install the stripe package.
Execute this command:
composer require stripe/stripe-php
Step 4: Set Up Stripe Configurations
Add stripe api keys on the .env file. the API keys are found on your Stripe Dashboard under Developer API keys.
.env
#--------------------------------------------------------------------
# STRIPE
#--------------------------------------------------------------------
stripe.key = 'pk_test_XXXXXX'
stripe.secret = 'sk_test_XXXXXX'
You can find you API keys on you stripe account dashboard, just navigate to Developers > API Keys.
Step 5: Create StripeController
Run this command to create a controller:
php spark make:controller StripeController
After creating a controller, add these line of codes to the app\Controllers\StripeController.php file:
app\Controllers\StripeController.php
<?php

namespace App\Controllers;

use App\Controllers\BaseController;
use Stripe;

class StripeController extends BaseController
{
    public function index()
    {
        return view('checkout');
    }

    public function createCharge()
    {
        Stripe\Stripe::setApiKey(getenv('stripe.secret'));
        Stripe\Charge::create ([
                "amount" => 5 * 100,
                "currency" => "usd",
                "source" => $this->request->getVar('stripeToken'),
                "description" => "Binaryboxtuts Payment Test"
        ]);

        return redirect()->back()->with('success', 'Payment Successful!');

    }

}
Step 6: Create View File
View files are web page or fragments of a page like header or footer and etc. Views can be embedded to other views whenever you need hierarchy on view files.
Create this view file “app/Views/checkout.php” and insert these codes:
app/Views/checkout.php
<!doctype html>
<html>
<head>
    <meta charset="utf-8">
    <meta name="viewport" content="width=device-width, initial-scale=1">
    <link href="https://cdn.jsdelivr.net/npm/bootstrap@5.0.2/dist/css/bootstrap.min.css" rel="stylesheet" integrity="sha384-EVSTQN3/azprG1Anm3QDgpJLIm9Nao0Yz1ztcQTwFspd3yD65VohhpuuCOmLASjC" crossorigin="anonymous">
    <script src="https://cdn.jsdelivr.net/npm/bootstrap@5.0.2/dist/js/bootstrap.bundle.min.js" integrity="sha384-MrcW6ZMFYlzcLA8Nl+NtUVF0sA7MsXsP1UyJoMp4YLEuNSfAP+JcXn/tWtIaxVXM" crossorigin="anonymous"></script>
</head>
<body>
    <div class="container">
        <div class="row justify-content-center">
            <div class="col-4">
                <div class="card">
                    <div class="card-body">
                        <?php if (session()->getFlashdata('success')) : ?>
                            <div
                                style="color: green;
                                    border: 2px green solid;
                                    text-align: center;
                                    padding: 5px;margin-bottom: 10px;">
                                Payment Successful!
                            </div>
                        <?php endif ?>
                        <form id='checkout-form' method='post' action="<?php echo base_url('/stripe/create-charge'); ?>">
                            <input type='hidden' name='stripeToken' id='stripe-token-id'>
                            <label for="card-element" class="mb-5">Checkout Forms</label>
                            <br>
                            <div id="card-element" class="form-control" ></div>
                            <button
                                id='pay-btn'
                                class="btn btn-success mt-3"
                                type="button"
                                style="margin-top: 20px; width: 100%;padding: 7px;"
                                onclick="createToken()">PAY $5
                            </button>
                        <form>
                    </div>
                </div>
            </div>
        </div>
    </div>

    <script src="https://js.stripe.com/v3/" ></script>
    <script>
        var stripe = Stripe("<?php echo getenv('stripe.key') ?>");
        var elements = stripe.elements();
        var cardElement = elements.create('card');
        cardElement.mount('#card-element');

        function createToken() {
            document.getElementById("pay-btn").disabled = true;
            stripe.createToken(cardElement).then(function(result) {


                if(typeof result.error != 'undefined') {
                    document.getElementById("pay-btn").disabled = false;
                    alert(result.error.message);
                }

                // creating token success
                if(typeof result.token != 'undefined') {
                    document.getElementById("stripe-token-id").value = result.token.id;
                    document.getElementById('checkout-form').submit();
                }
            });
        }
    </script>
</body>
</html>
Step 7: Register Routes
After creating a controller, register these 2 routes.
app/Config/Routes.php
$routes->get('/stripe', 'StripeController::index');
$routes->post('/stripe/create-charge', 'StripeController::createCharge');
Step 8: Run the Application
Now that we have completed the steps above we will now run the app. To run the app, execute this command:
php spark serve
After successfully running your app, open this URL in your browser:
http://localhost:8080/index.php/stripe
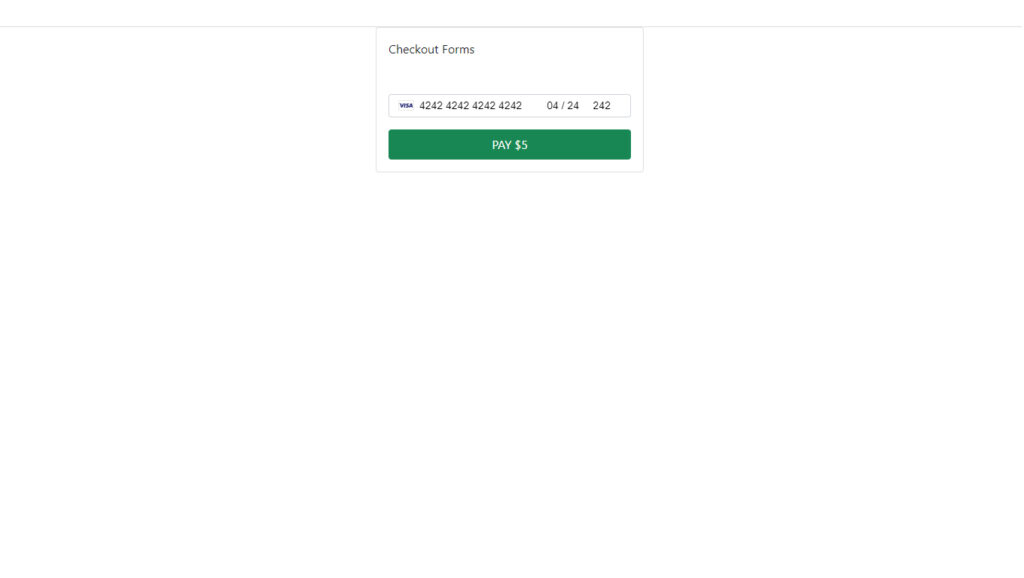
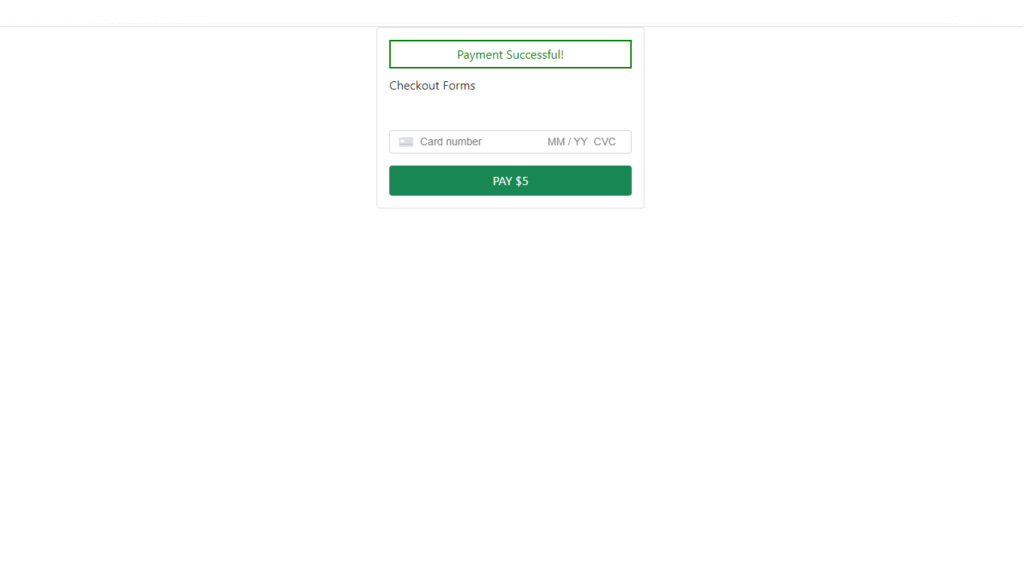
Screenshots:
Before Payment Transaction:

After Payment Transaction:


